1. Press Command + Shift + 3 to take a screenshot of your entire screen.
2. Press Command + Shift + 4 to take a screenshot of a selected area.
3. Press Command + Shift + 5 to open the screenshot toolbar. From here, you can take a screenshot of your entire screen, a selected window, or a selected area.
4. To save your screenshot, press Command + Control + Shift + 3 or 4. This will save the screenshot to your desktop.

Netizens often insist that screenshots are some of the most useful things in their lives. This feature helps them in capturing the whole or only a portion of a screen as per their requirement. Moreover, they can make the necessary adjustments and share the screenshot with someone else. However, if you are a beginner, then you might be wondering how to take Screenshots Mac. If so, continue reading to also find out where do screenshots go on Mac and how to take a screen shot on Mac.

How to Take Screenshots on Mac
Whether you are gossiping with your friends or sharing a hidden gem you found on the internet, screenshots can be a savior. You can use them for literally anything ranging from enhancing cooperation among employees to demonstrating how to perform something. Read this article till the end to know how to capture and paste a screenshot on Mac.
Where Do Screenshots Go on Mac?
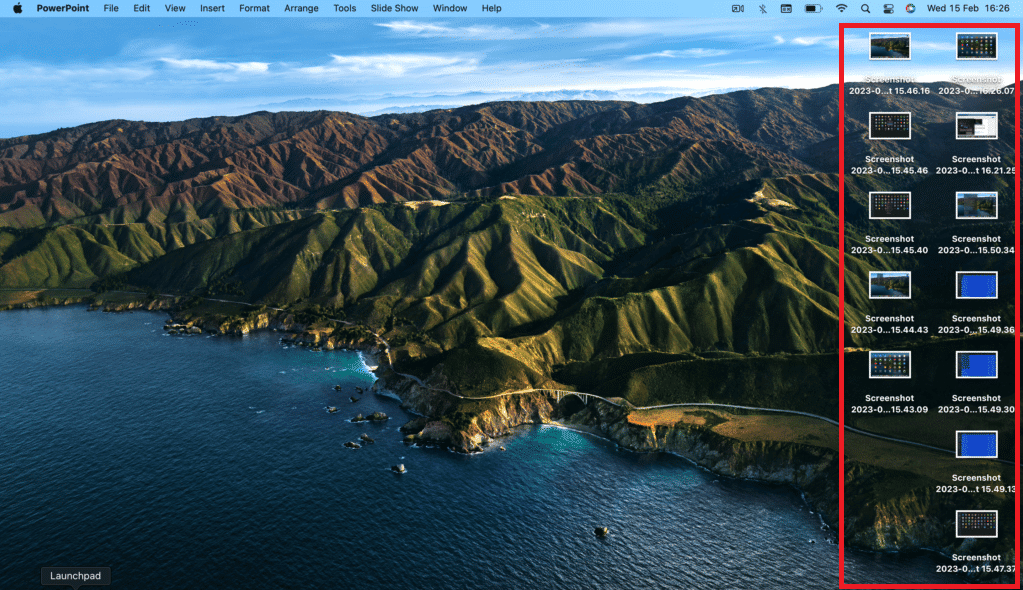
You might often wonder where do screenshots go on Mac. To your surprise, screenshots are automatically saved to your Mac desktop. They are saved as screenshot date followed by time in PNG file format. In some newer Mac models, you can alter the default location of saved screenshots. Apart from this, another option is to manually drag the saved image to a folder.
Also Read: Where Do Downloads Go on iPhone?
How to Take a Screen Shot on Mac?
MacBook screenshot shortcut depends on the model you are using. Nonetheless, you can use the below-mentioned shortcuts to learn how to take a screen shot on Mac.
- Simply press Shift + Command + 3 keys together to capture the whole screen.
- You can also use Shift + Command + 4 keys combination to capture a portion.
- Shift + Command + 4 + Spacebar keys combination is useful to capture a specific window or menu.
How to Paste Screenshot on Mac?
Once you have the desired screenshot on Mac, you may want to copy and paste it somewhere else. For this, you need to know how to paste screenshot on Mac. There are two ways so let us take a look at them one by one.
Method 1: Click and Drag Screenshot
The first method is more quick and lets you skip a few steps like saving and then copy pasting the screenshot.
1. Press Shift + Command + 3 keys to take a screenshot.
Note: This will automatically save the screenshot on your desktop.
2. Next, click and drag the screenshot from desktop to another window where you want to Paste it.
It is how to take screenshots Mac and paste them.
Also Read: How to Crop a Screenshot on Mac
Method 2: Use Clipboard
This method lets you utilize clipboard and paste the screenshot anywhere you want.
1. Press and hold Shift + Command + CTRL + 4 keys together.
2. Drag the crosshair to select and capture only a portion of the screen.
3. Next, press Command + V keys to Paste it.
Recommended:
We hope that you learned about how to take screenshots Mac with MacBook screenshot shortcut. Feel free to reach out to us with your queries and suggestions via the comments section below. Also, let us know what you want to learn about next.
How to Take Screenshots on Mac
Taking screenshots on a Mac is a great way to capture what’s on your screen. Whether you’re trying to capture a website, document, or game, screenshots are a great way to save the image for later. Here’s how to take screenshots on Mac.
Using Keyboard Shortcuts
The easiest way to take a screenshot on a Mac is to use keyboard shortcuts. To capture the entire screen, press Command + Shift + 3. To capture a portion of the screen, press Command + Shift + 4. When you press these shortcuts, the screenshot will be saved to your desktop.
Using the Screenshot App
If you want more control over your screenshots, you can use the Screenshot app. To open the app, press Command + Shift + 5. This will open a menu with several options for taking screenshots. You can capture the entire screen, a window, or a portion of the screen. You can also record a video of your screen.
Editing Your Screenshots
Once you’ve taken a screenshot, you can edit it using the Preview app. To open the app, press Command + Space and type “Preview”. Then, open the screenshot you want to edit. You can use the tools in the toolbar to crop, rotate, and annotate the image. When you’re done, you can save the image to your desktop.
Sharing Your Screenshots
Once you’ve taken and edited your screenshot, you can share it with others. To share the image, open the screenshot in Preview and click the “Share” button in the toolbar. You can then choose to share the image via email, AirDrop, or social media.
Conclusion
Taking screenshots on a Mac is easy and can be done in a few simple steps. Whether you’re trying to capture a website, document, or game, screenshots are a great way to save the image for later. With the help of keyboard shortcuts and the Screenshot app, you can quickly and easily take screenshots on your Mac.
