Shader Pre-Caching is one of the features in Steam that you could have noticed, but it has a very brief description and is not always easy to grasp. Shader Pre-Caching enables Steam to download pre-compiled GPU shaders that are compatible with your system settings, per the feature description. This speeds up the loading process for Vulkan and OpenGL games and enhances the stability of the framerate while playing. When necessary, Steam will pull shaders from your system if this option is enabled. In this guide, we will learn about how to disable Steam shader pre caching. We will also give you a brief detail about shader pre-caching Steam and how to delete Steam shader cache.
How to Disable Shader Pre Caching in Steam
Shader pre-caching is one feature with little to no description and can be really confusing at times. As a gamer, you understand how important a shader is in gameplay, but if you are new to gaming, you should first understand what shader pre-caching is before disabling Steam shader pre-caching. Keep reading to find out.
What is Shader Pre-Caching Steam?
Shader pre-caching is a new function that allows the user to have an improved and faster gaming session. It is natively activated and informs the user how much of our hard drive is used as a cache. Steam can download prebuilt shaders, depending on your hardware and graphics driver support. This can decrease the loading time and in-game stuttering during the early starts of games based on Vulkan APIs and OpenGL supported hardware.
There is a downside to this as well, as shader pre-caching can use up storage space, which can lead to storage issues that we do not want. In order to achieve the space requirements, let us learn how to disable Steam Shader pre caching.
How to Disable Shader Pre Caching
Disabling the shader pre-caching on Steam can be really helpful when you have a tight data cap or are facing storage issues. As said earlier, shader pre-caching is natively enabled, and you need to manually disable it. We have listed the steps that will help you disable shader pre caching. Have a look at it.
1. First, open Steam app.
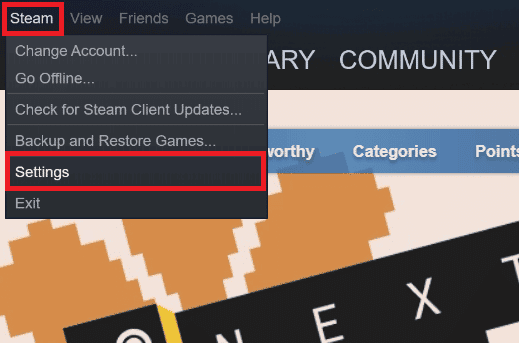
2. Click on Steam from the left-side corner.

3. Select Settings in the drop-down menu.
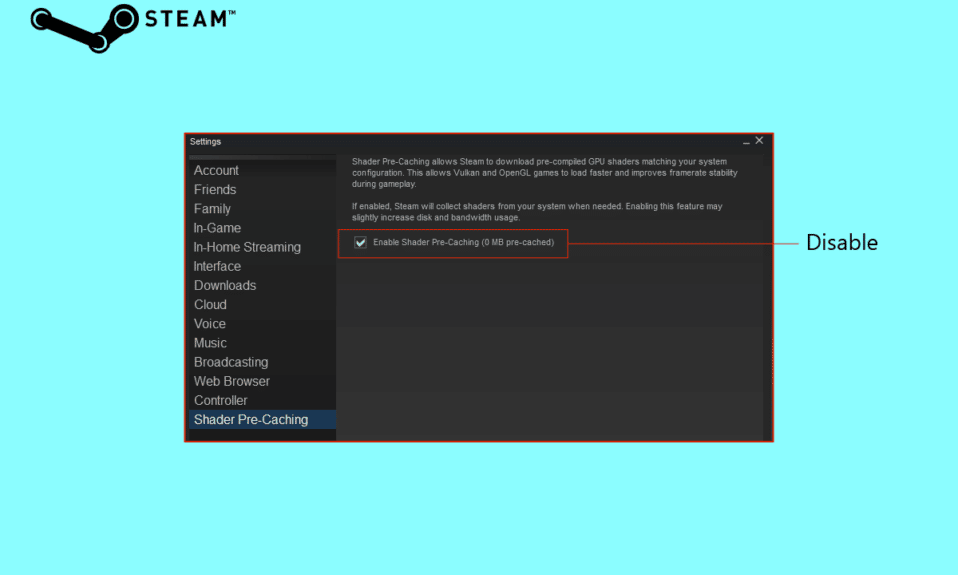
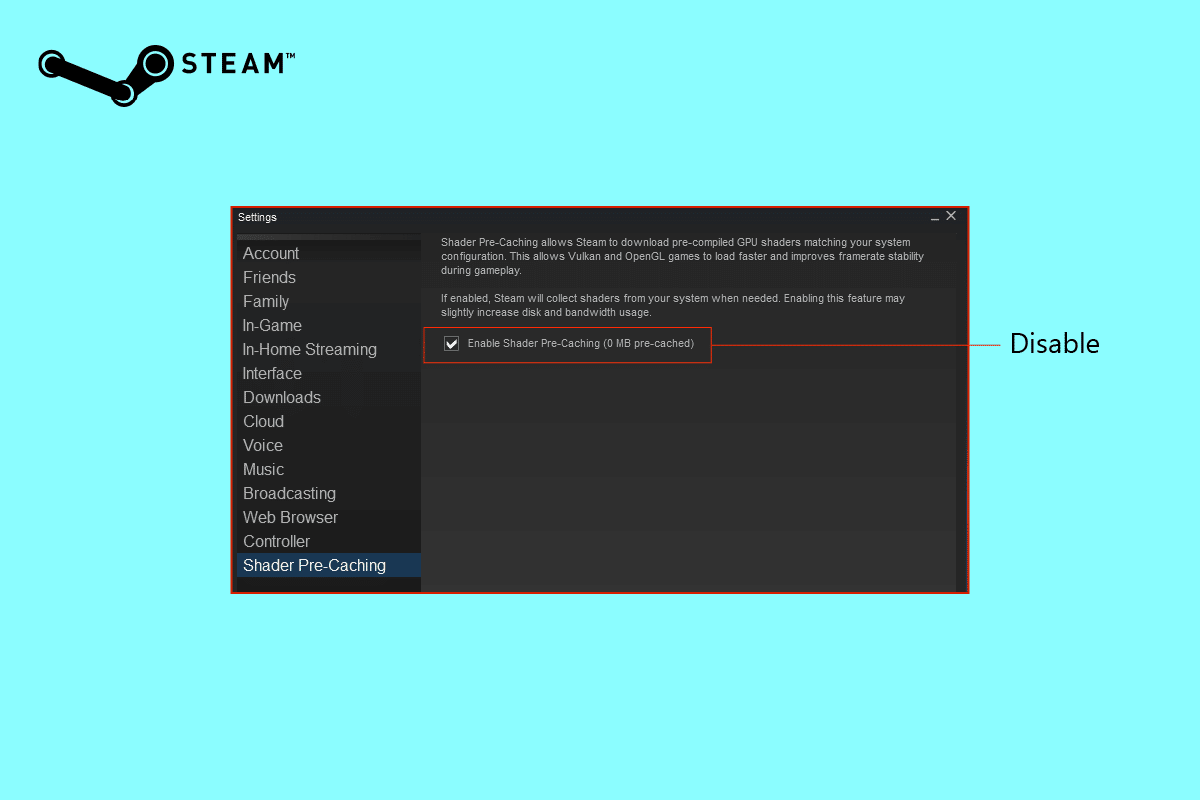
4. In the Settings page, select Shader Pre-Caching, and on the right side untick Enable Shader Pre-Caching option.

5. Click OK to confirm disabling.
Is it Safe to Delete Steam Shader Cache?
Yes, it is completely safe to delete Steam shader cache. If you feel that your file is too large or might be corrupted, that particular folder can be deleted permanently once done, but the shader cache will regenerate and fill again. Keep reading to find out how to delete Steam shader cache.
Also Read: Fix No Steam User Steam Error on Garry’s Mod
How to Delete Steam Shader Cache
Now that you know how to disable Steam shader pre caching, you might want to take the proper steps to clear Steam shader cache. If you are finding ways to clear the shader pre caching on the Steam application, then you need to come out of the app. To delete Steam shader cache, all you need to do is follow the given steps.
Option I: From File Manager
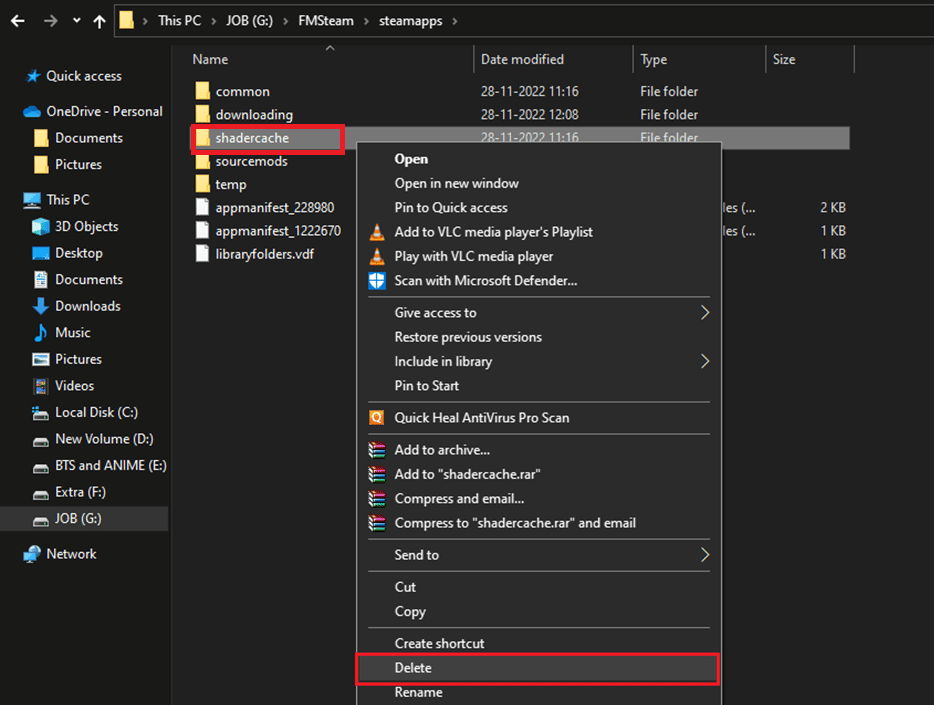
1. Open the drive where the Steam app is installed.
2. Select and scroll through the Steam folder for steamapps.
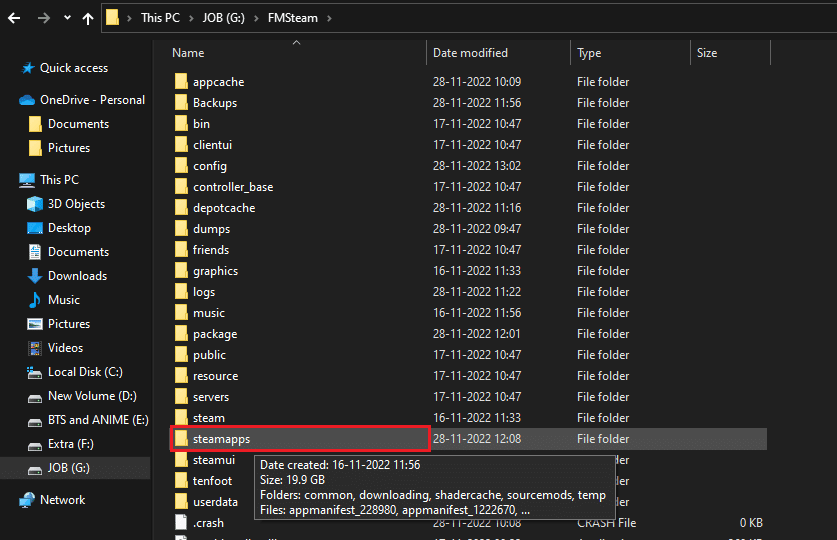
3. Right-click on shadercache and select Delete.
You can use this to locate and delete Steam shader cache on your PC. But this is not the only way to clear the shader cache.
Option II: Using Disk Cleanup
We brought you another guide to clearing the shader cache.
1. To begin, type Disk Cleanup into the Windows search box and click open.

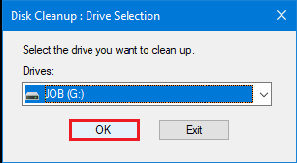
2. Select the drive you want to clean up.
3. Click OK to continue.
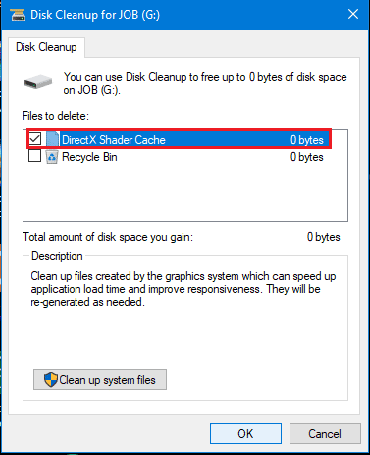
4. Select DirectX Shader Cache.
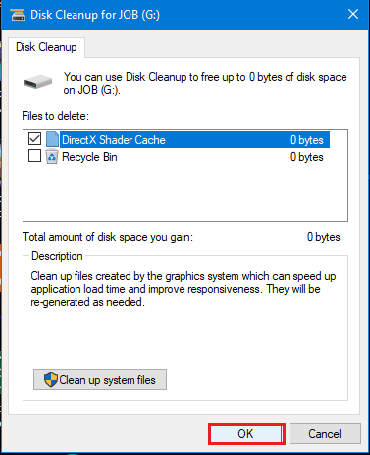
5. Finally, click OK to delete the shader cache.
Also Read: How to Fix Steam Not Downloading Games.
Should I Allow Background Processing of Vulkan Shaders?
In this article, we discussed how to disable Steam shader pre caching and when disabling it, we had another option to tick Allow background processing of Vulkan shaders. But should we allow background processing of Vulkan Shaders?
When Vulkan shaders are disabled, the shaders are compiled at runtime, using all the computer power to get it done as quickly as possible. This might take quite some time, and your PC will run extremely hot during the process, and we don’t want that. So, yes, we should allow Vulkan Shaders to be processed in the background.
When you allow it, Steam compiles them all a little more slowly and more gently the moment Steam starts. You can always turn it off if you don’t like to wait on shaders. If your Steam is slow, then you can read our article on Fix Steam is Slow on Windows 10.
Frequently Asked Questions (FAQs)
Q1. Can you skip Vulkan shaders?
Ans. Yes, you always have the choice to skip Vulkan shaders but skipping the process may result in frame drops during the gameplay.
Q2. Do shaders improve performance?
Ans. Yes, shaders do improve performance as using a shader lets you take advantage of the processing power of the graphics card and processor unit instead of relying solely on the CPU.
Q3. Do shaders lag?
Ans. It is possible for a shader to lag if the user does not have a to-notch computer or when mods, shaders, game packs, and more are all enabled simultaneously. This can be very frustrating during gameplay.
Recommended:
Here it is, the steps to disable Steam shader pre caching. We hope that this article was helpful enough for you to learn more about shader pre-caching Steam and were able to implement the given steps. Don’t be shy to add your suggestions as we love to hear more from you. Feel free to ask your doubts in the comment section below.
